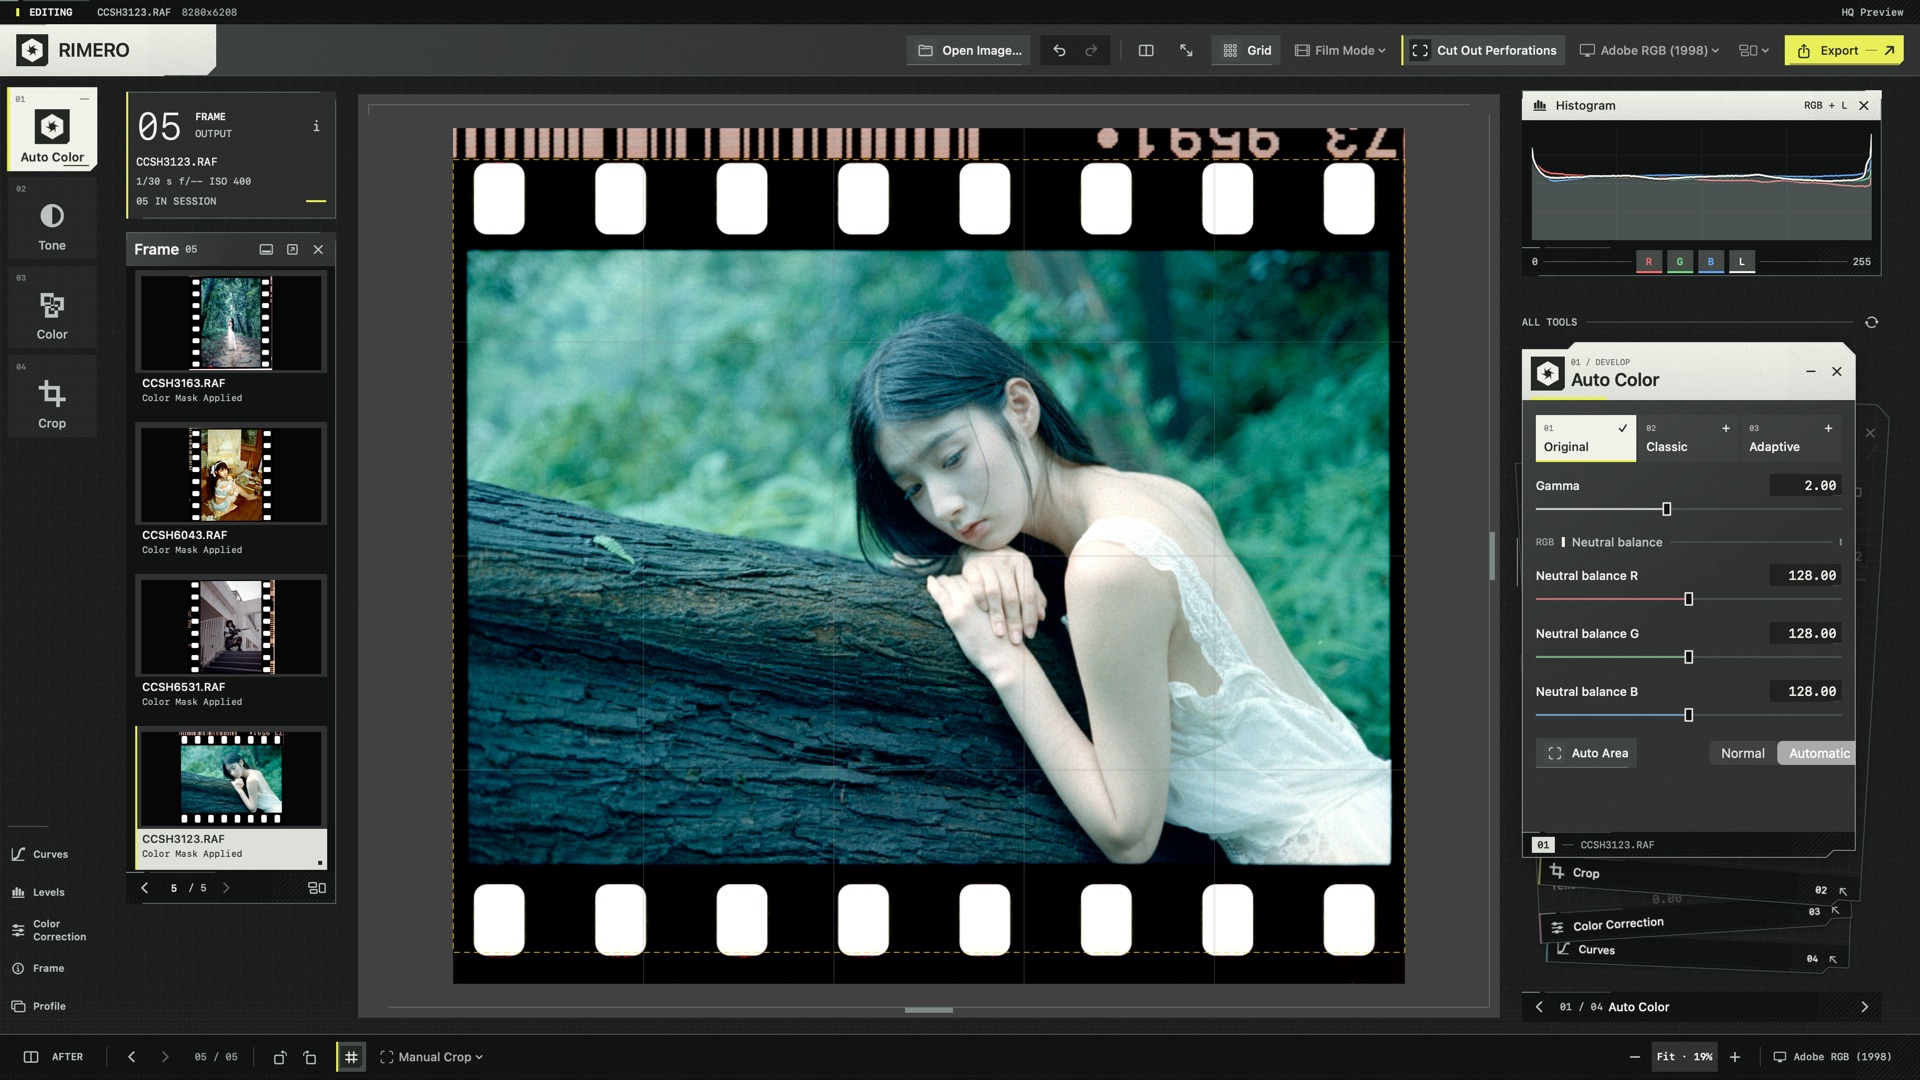
Original
Start from the Original rendering, then move into manual editing.

Native Mac workbench for film digitization
RIMERO brings negative preparation, frame-by-frame editing, and whole-roll review into one native Mac workspace. Image processing stays on your Mac.
Actual RIMERO 1.0 interface.
R—01
Auto gets you started. You decide where the color lands.
01 / FILM BASE
Film Base gives the negative an initial rendering to work from. Start with Original, Classic, or Adaptive Auto, then shape the color with the manual controls.
Start from the Original rendering, then move into manual editing.
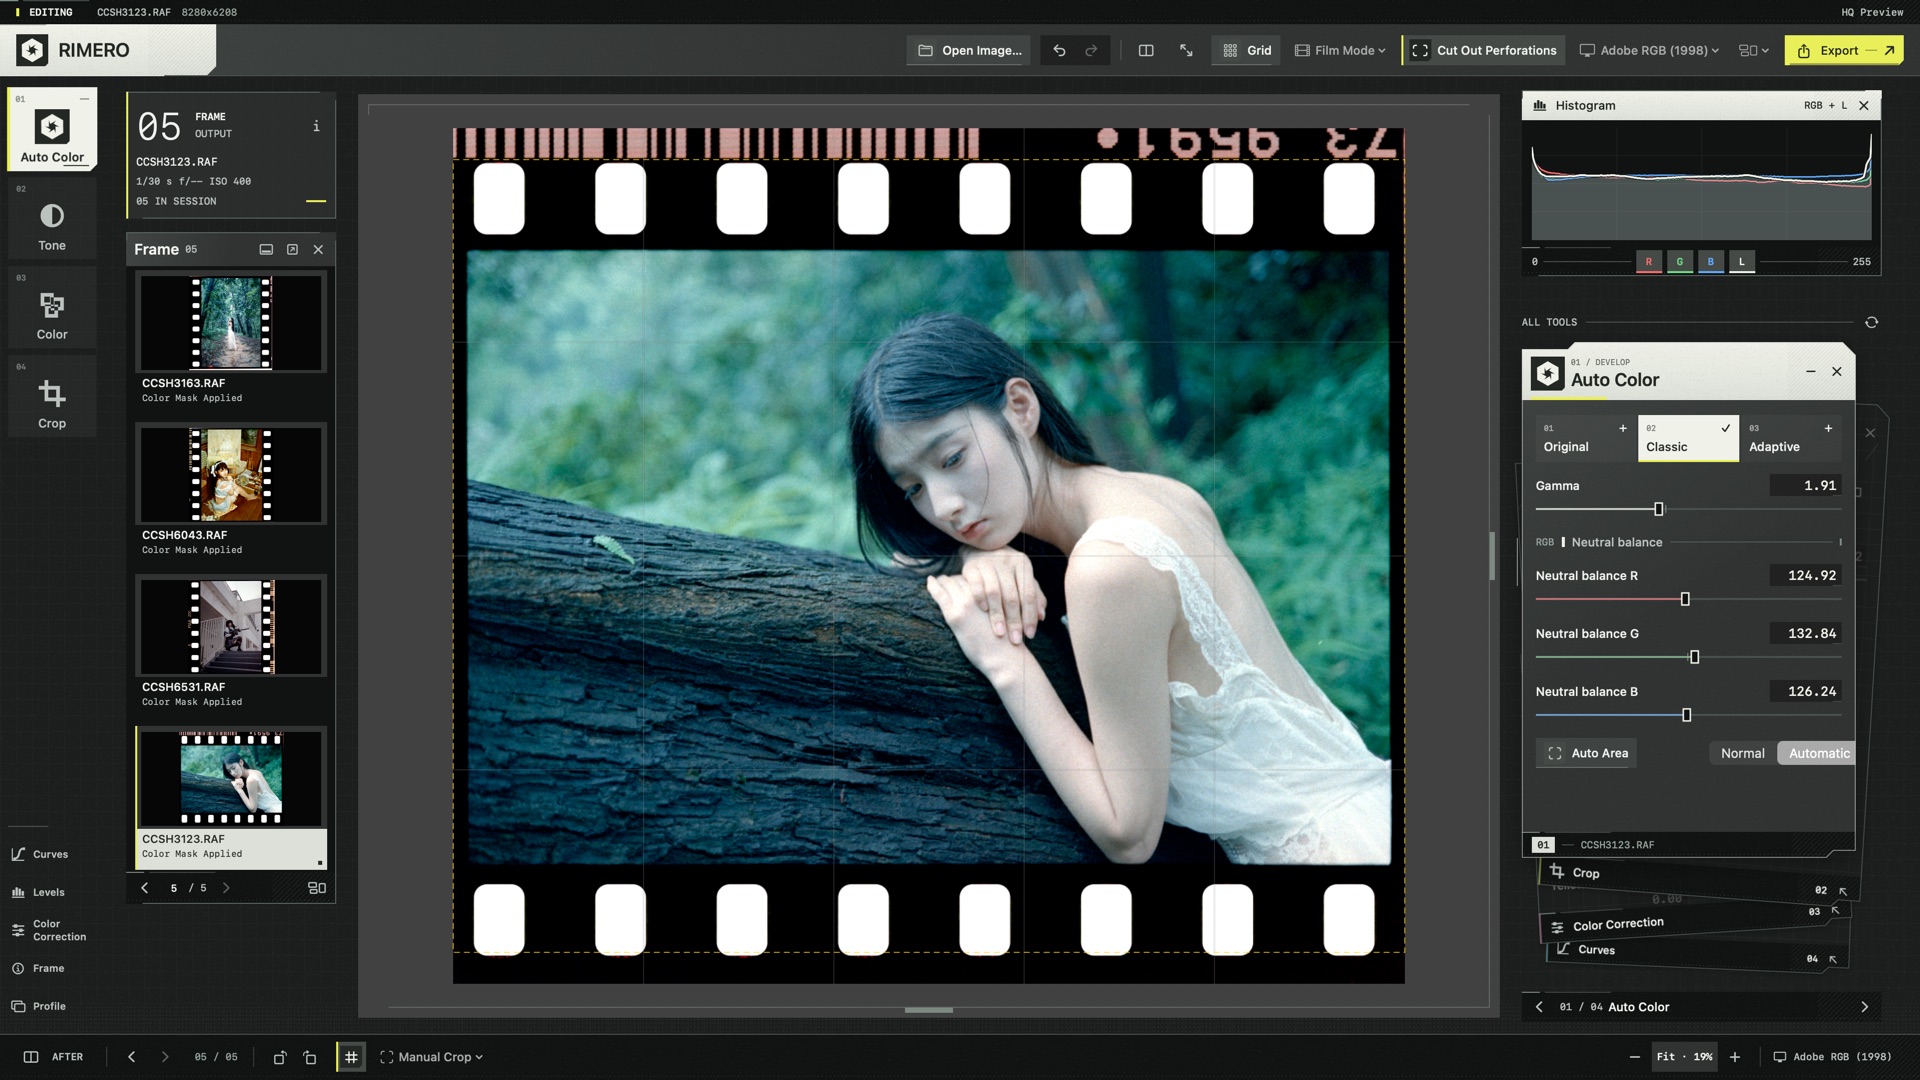
Use Classic as the starting point, then refine the frame.
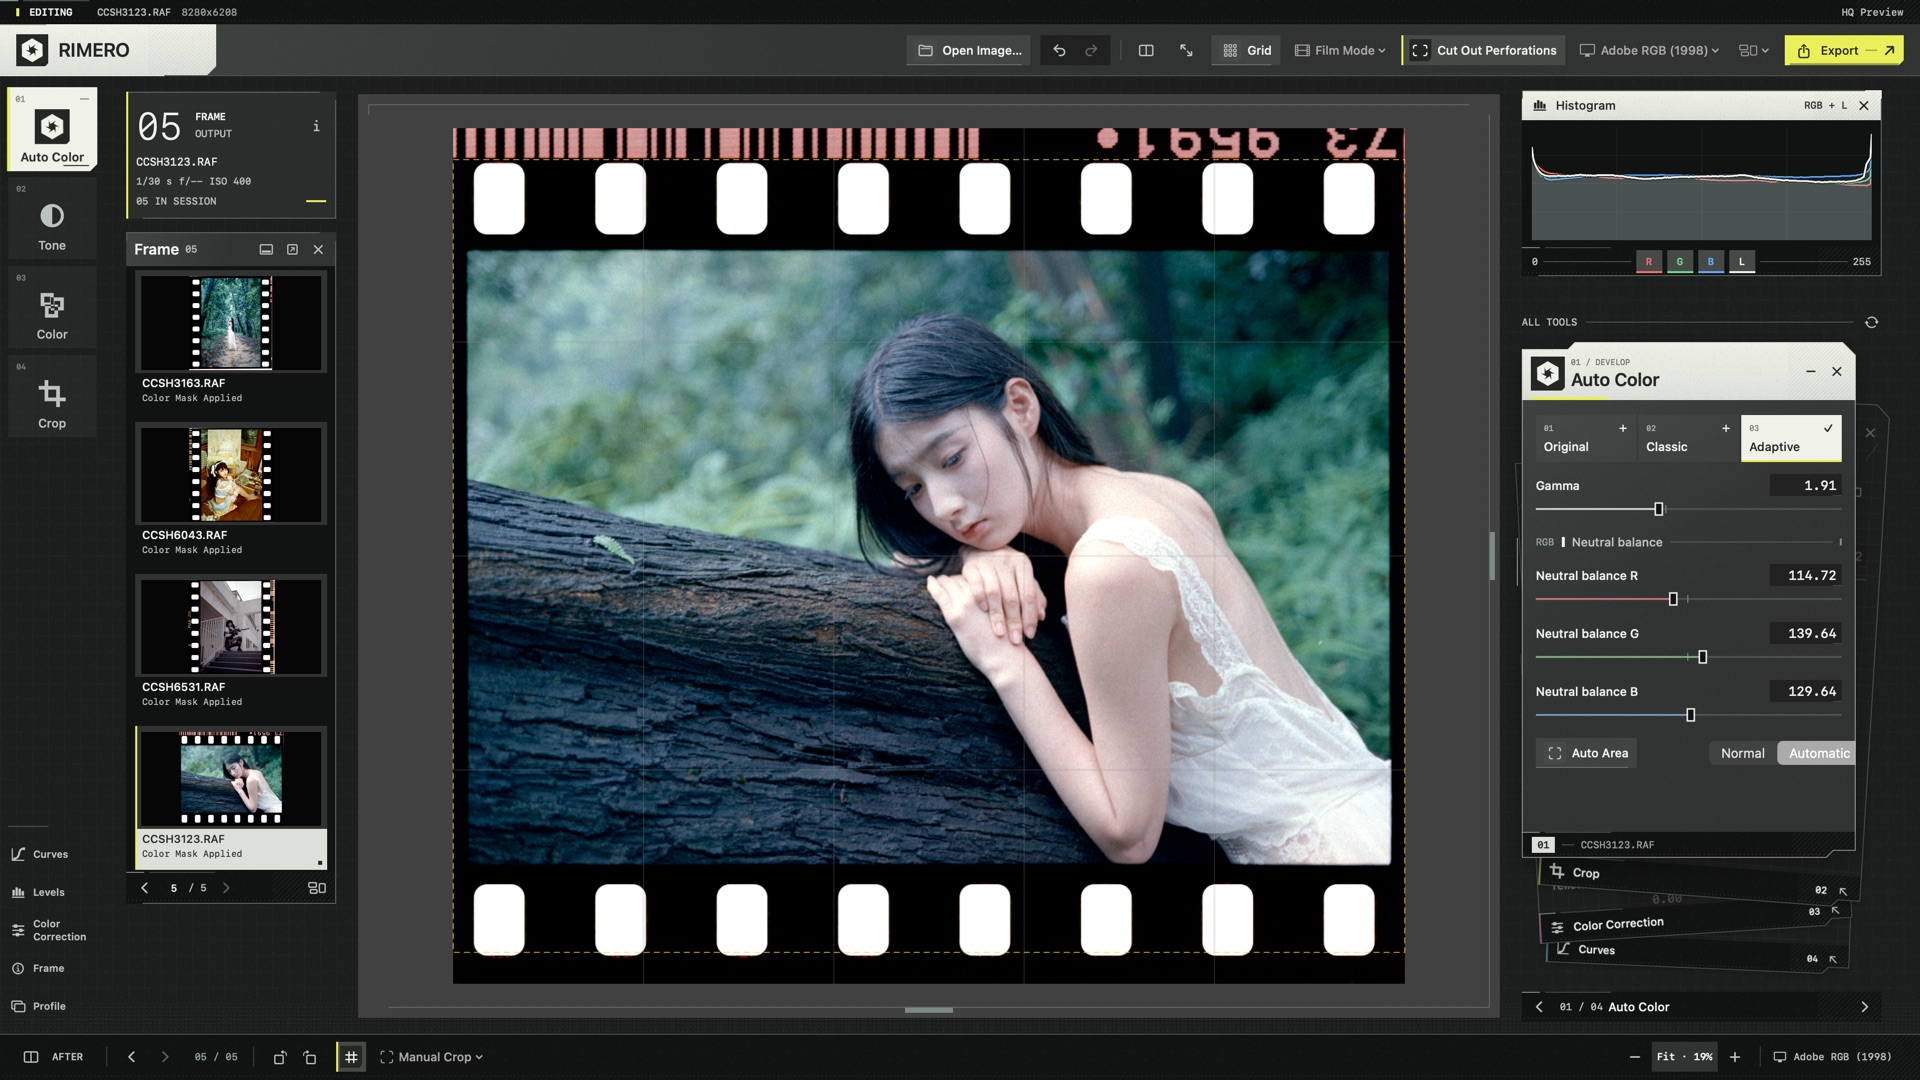
Begin with an initial balance based on the current frame.
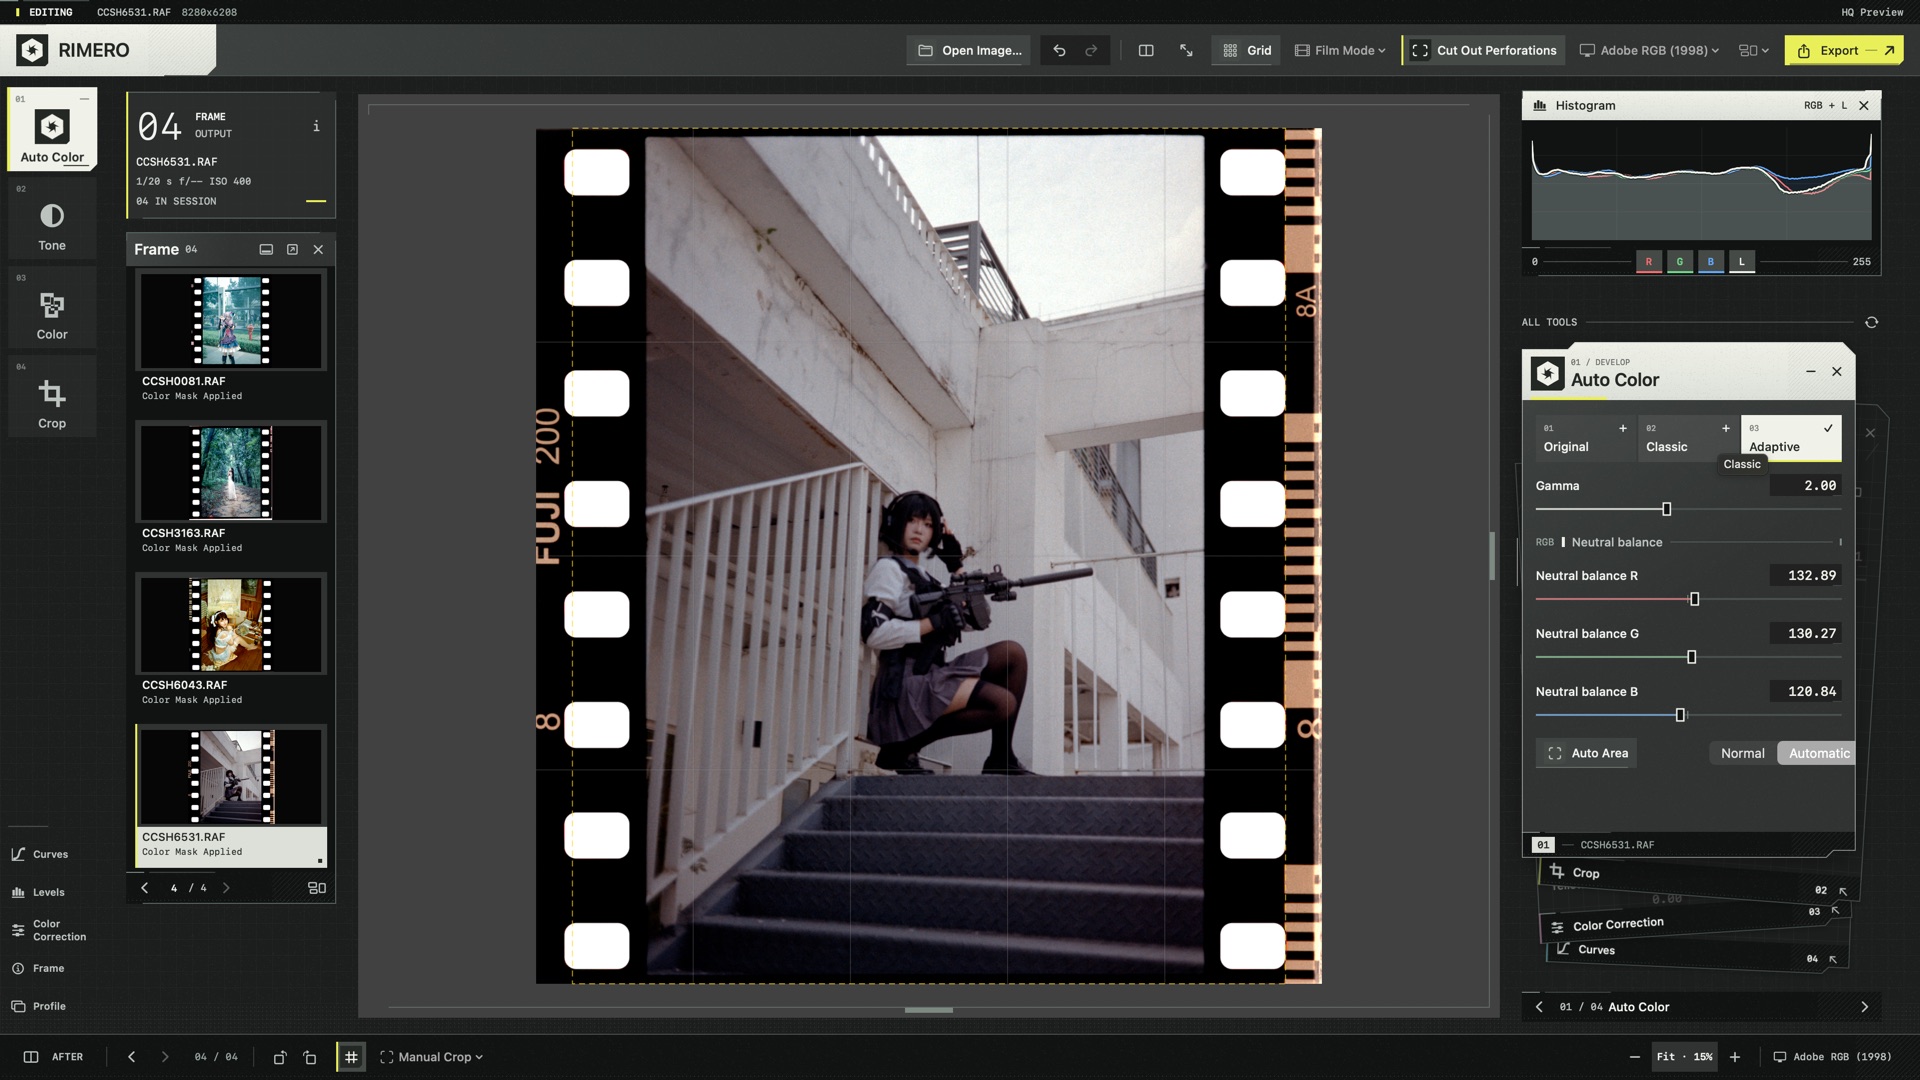
02 / ROLL
Film naturally belongs to a roll. As you move between frames, make selections, or apply adjustments, the surrounding photographs stay in view. Bring consistency to the roll while preserving the character of each frame.
Whole-roll consistency / Individual frames
03 / GALLERY + CONTACT SHEET
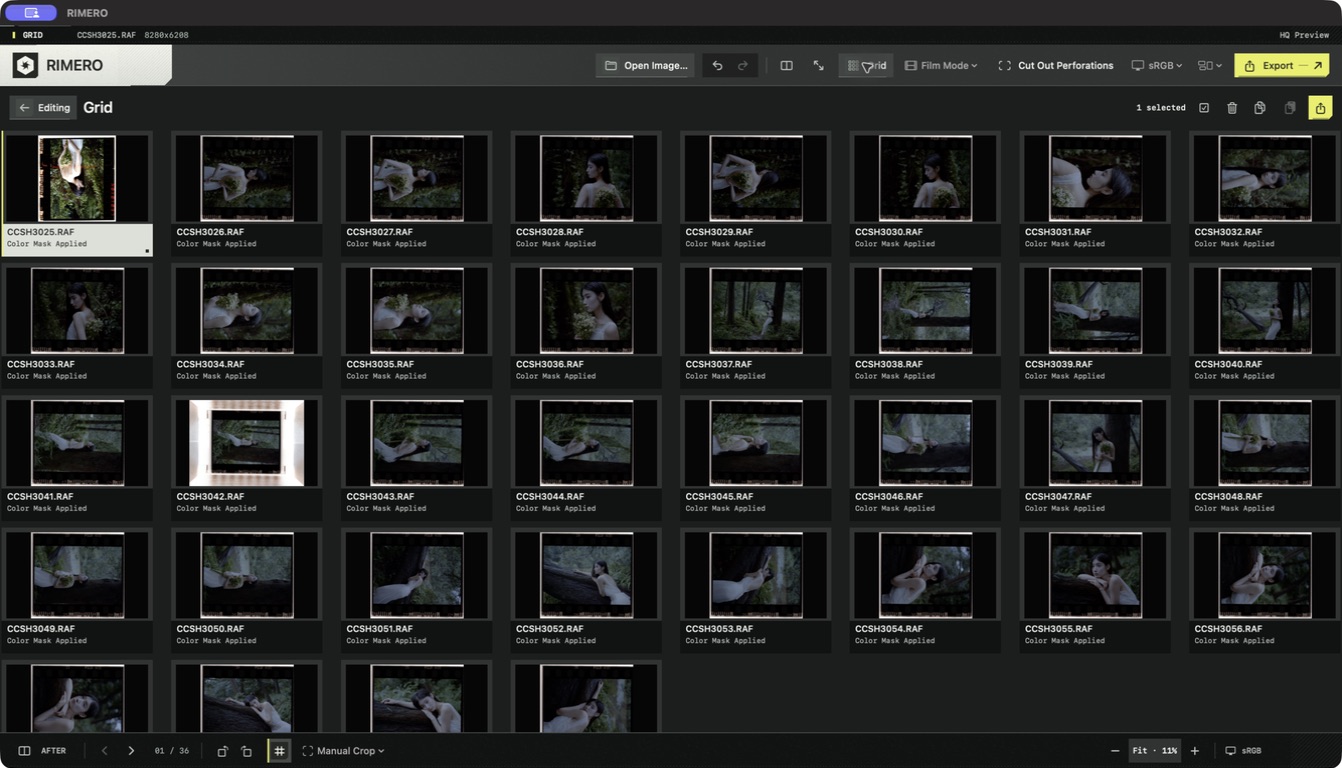
Gallery lays out the roll for quick review. Contact Sheet keeps sequence, rhythm, and color continuity in one view, so you can spot the frames that need another pass.
04 / EDIT
Set exposure and tone, shape color with Curves and Mixing, then finish the composition with Crop and Rotation. Before / After keeps every change easy to compare.
Set the overall brightness of the frame.
Balance highlights, midtones, and shadows.
Adjust white balance, saturation, and the overall color cast.
Refine luminance and color relationships.
Refine color through the relationships between channels.
Correct orientation and reframe the image.
Compare the current result with the starting image.
05 / OUTPUT
RAW/RAF and FFF support different editing tools and export formats. Here is what each workflow currently includes.
Prepare and edit the negative, then export to TIFF, JPEG, or PNG. Choose an ICC profile, with macOS ColorSync participating in display and output color management.
FFF currently supports import, preview, Exposure, Contrast, Rotation, and Classic. Export is available as TIFF or JPEG, with a different editing range from RAW/RAF.
IMPORT · PREVIEW · TIFF / JPEGRIMERO 1.0
A native Mac workbench built around film digitization.